| Item | Price |
|---|---|
| 2× LED panel lights (with adjustable brightness, 5500K) | $40–50 |
| Mini tabletop tripod or flexible tripod | $15–20 |
| White foam core boards (×6) | $15 |
| White seamless paper sweep (60cm wide roll) | $10–15 |
| Backdrop clips or binder clips | $5 |
| Total | $85–105 |
Use your smartphone as the camera. If you already have one of the camera items from around the house, adjust the budget accordingly.
You need a table with at least 60cm of depth and clear access from the front. Here's the layout:
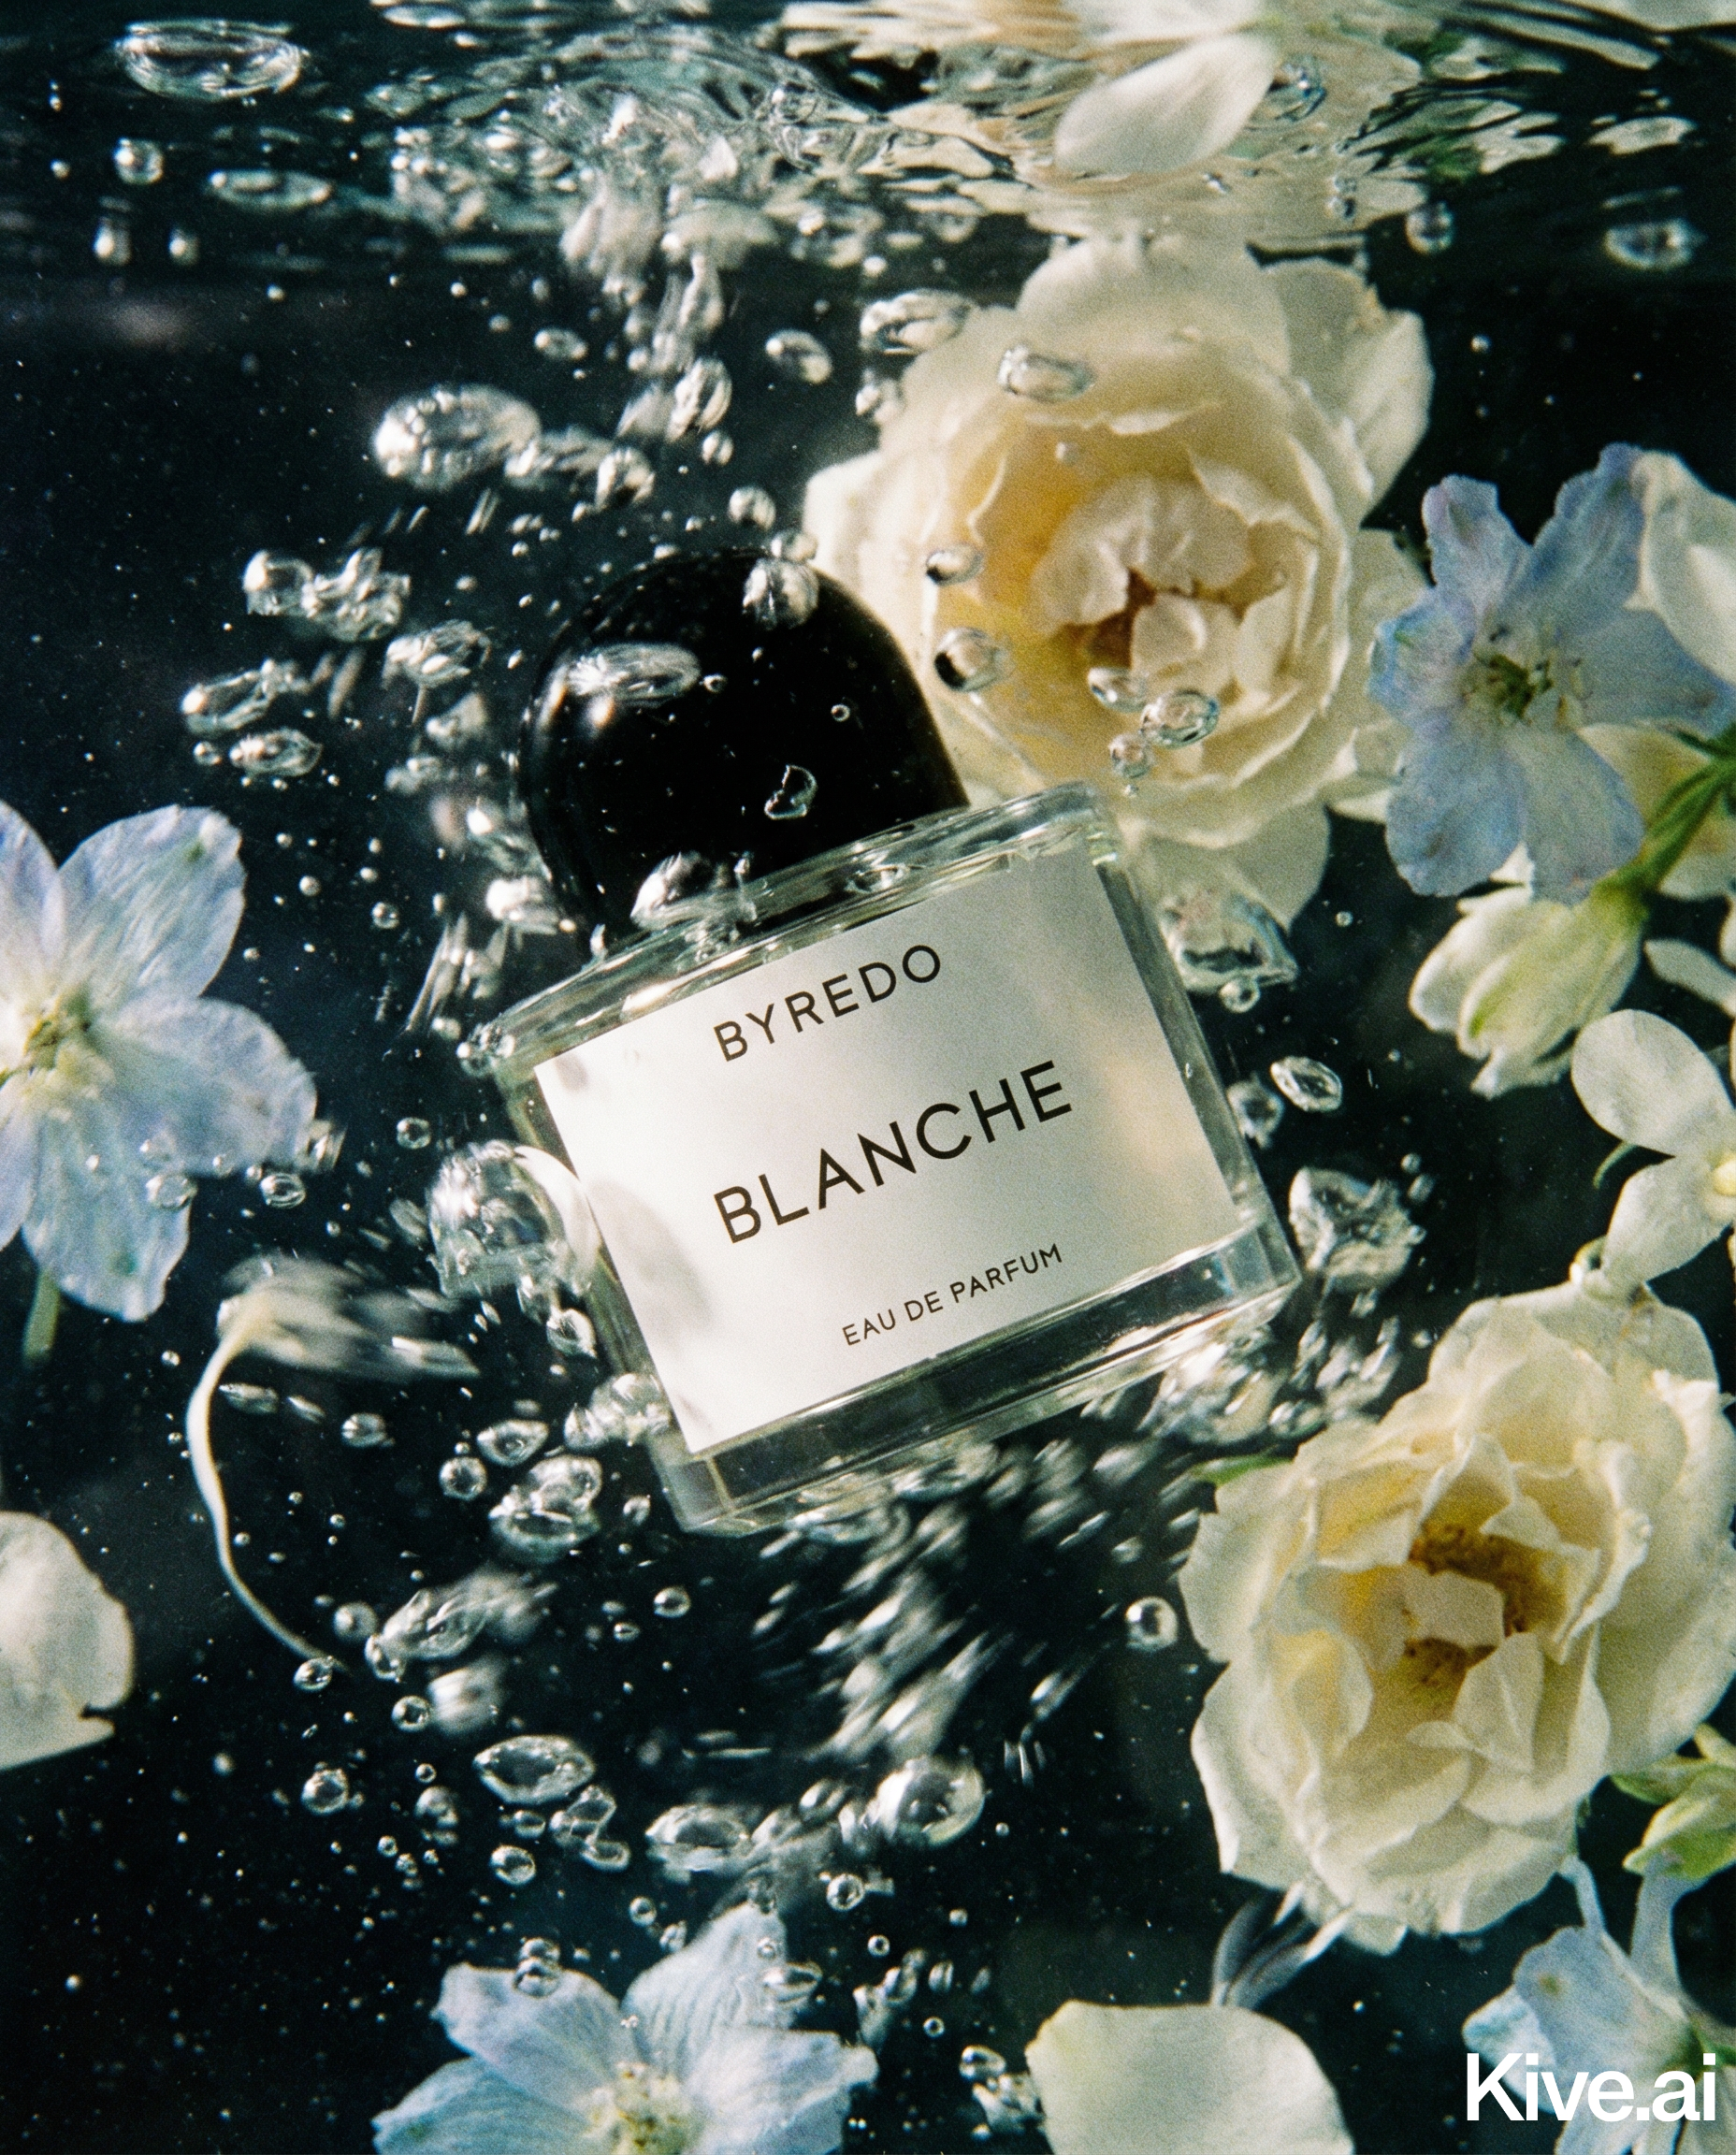
This creates the "infinity sweep" look that most commercial product photos use — no visible corner where the surface meets the background.
Position your two LED panels:
Sellable turns a single product photo into studio-quality images, cinematic video, and on-brand campaigns — in under 60 seconds.
Get started free →Both lights should be aimed at the product, not the background. If your background looks grey, move the lights forward slightly or add a third piece of white foam core as a bounce behind the product.
| Adjustment | Effect |
|---|---|
| Move key light closer | More brightness and contrast |
| Move fill light further | More shadow, more dimensionality |
| Add white card behind product | Brightens background |
| Add black card on one side | Deepens shadow for dramatic look |
Using a smartphone: - Lock focus and exposure on the product (long-press on screen) - Turn off HDR mode (flattens lighting) - Use a tripod and the self-timer (2 seconds) to eliminate any camera shake
Using a DSLR: - ISO 100, f/8, shutter speed adjusted to correct exposure (typically 1/60–1/125 under LED lights) - Manual mode for consistent results across the whole shoot
For generating lifestyle and alternate backgrounds from your studio shots, Sellable turns a single clean product photo into multiple professional scene contexts.
Sign up for free and transform your product photography with Sellable.
Get started for free